
Window Restoration Gallery
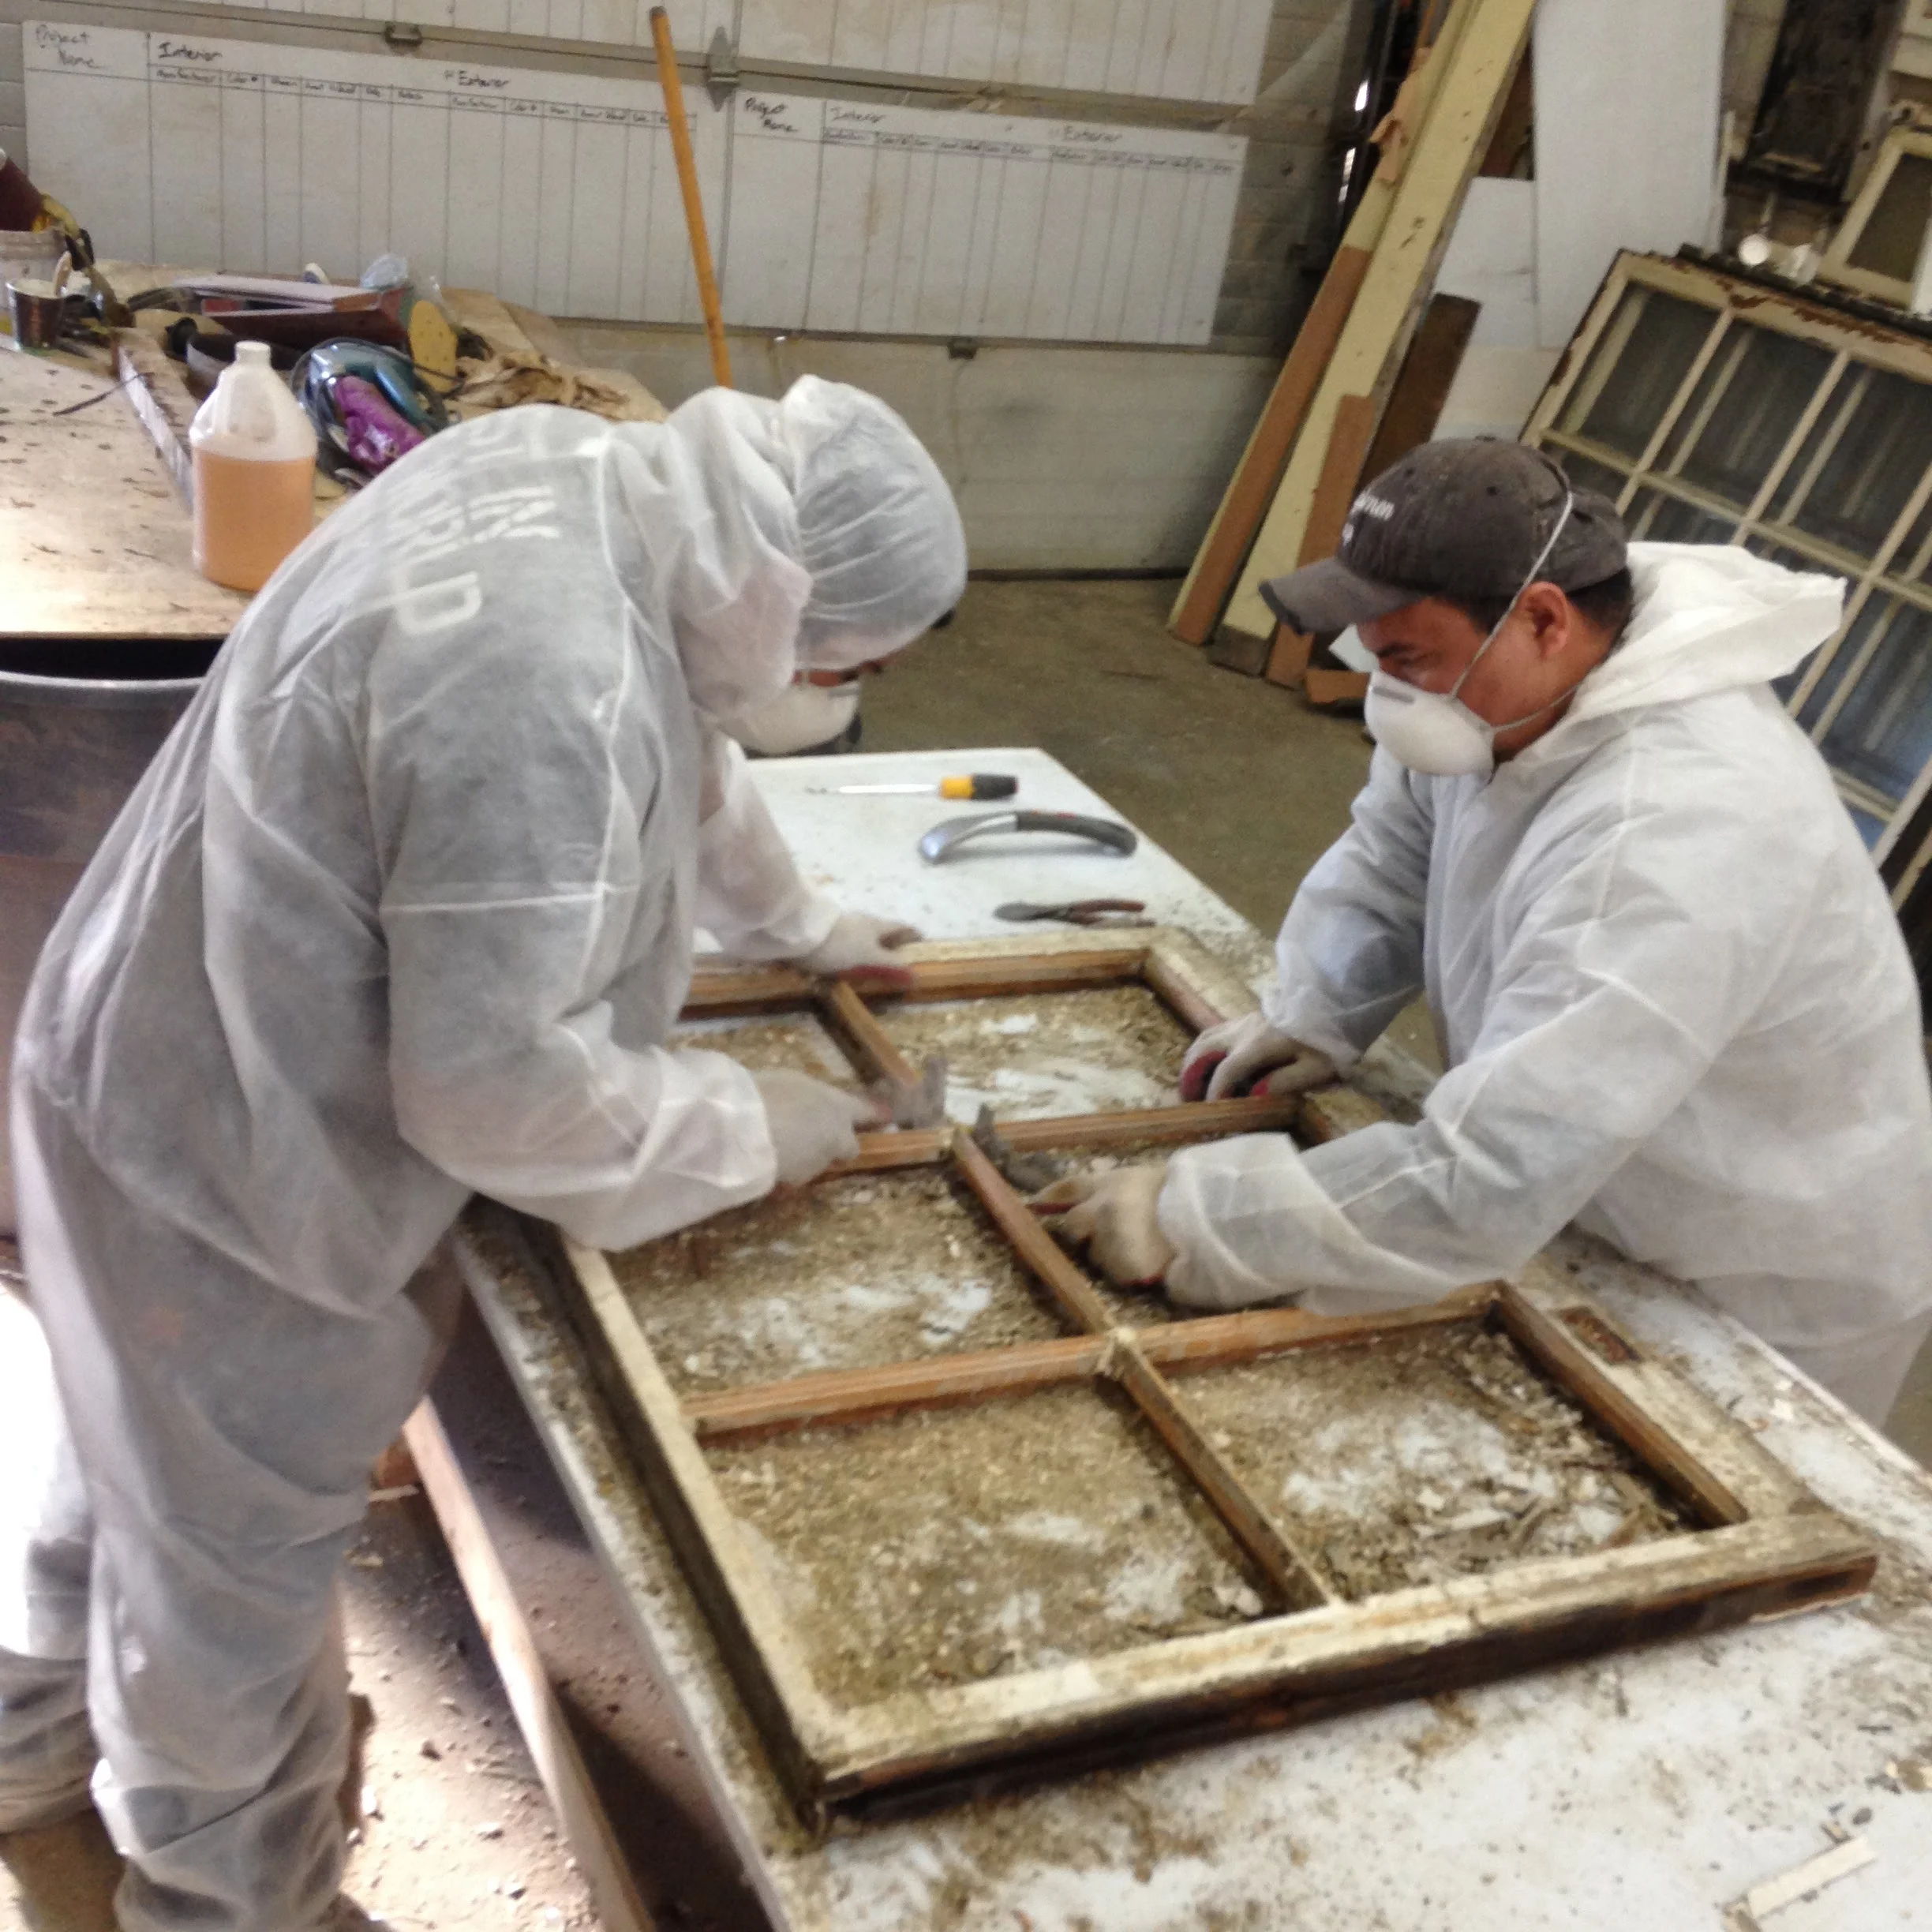

This photo and next two show the steam stripping process. We often find these conditions where modern latex paint is applied over badly prepared surfaces with harder oil and lead-based paint. The steamer releases the latex and acrylic paints with ease. Mechanical scrapping is required to remove the harder original coatings.


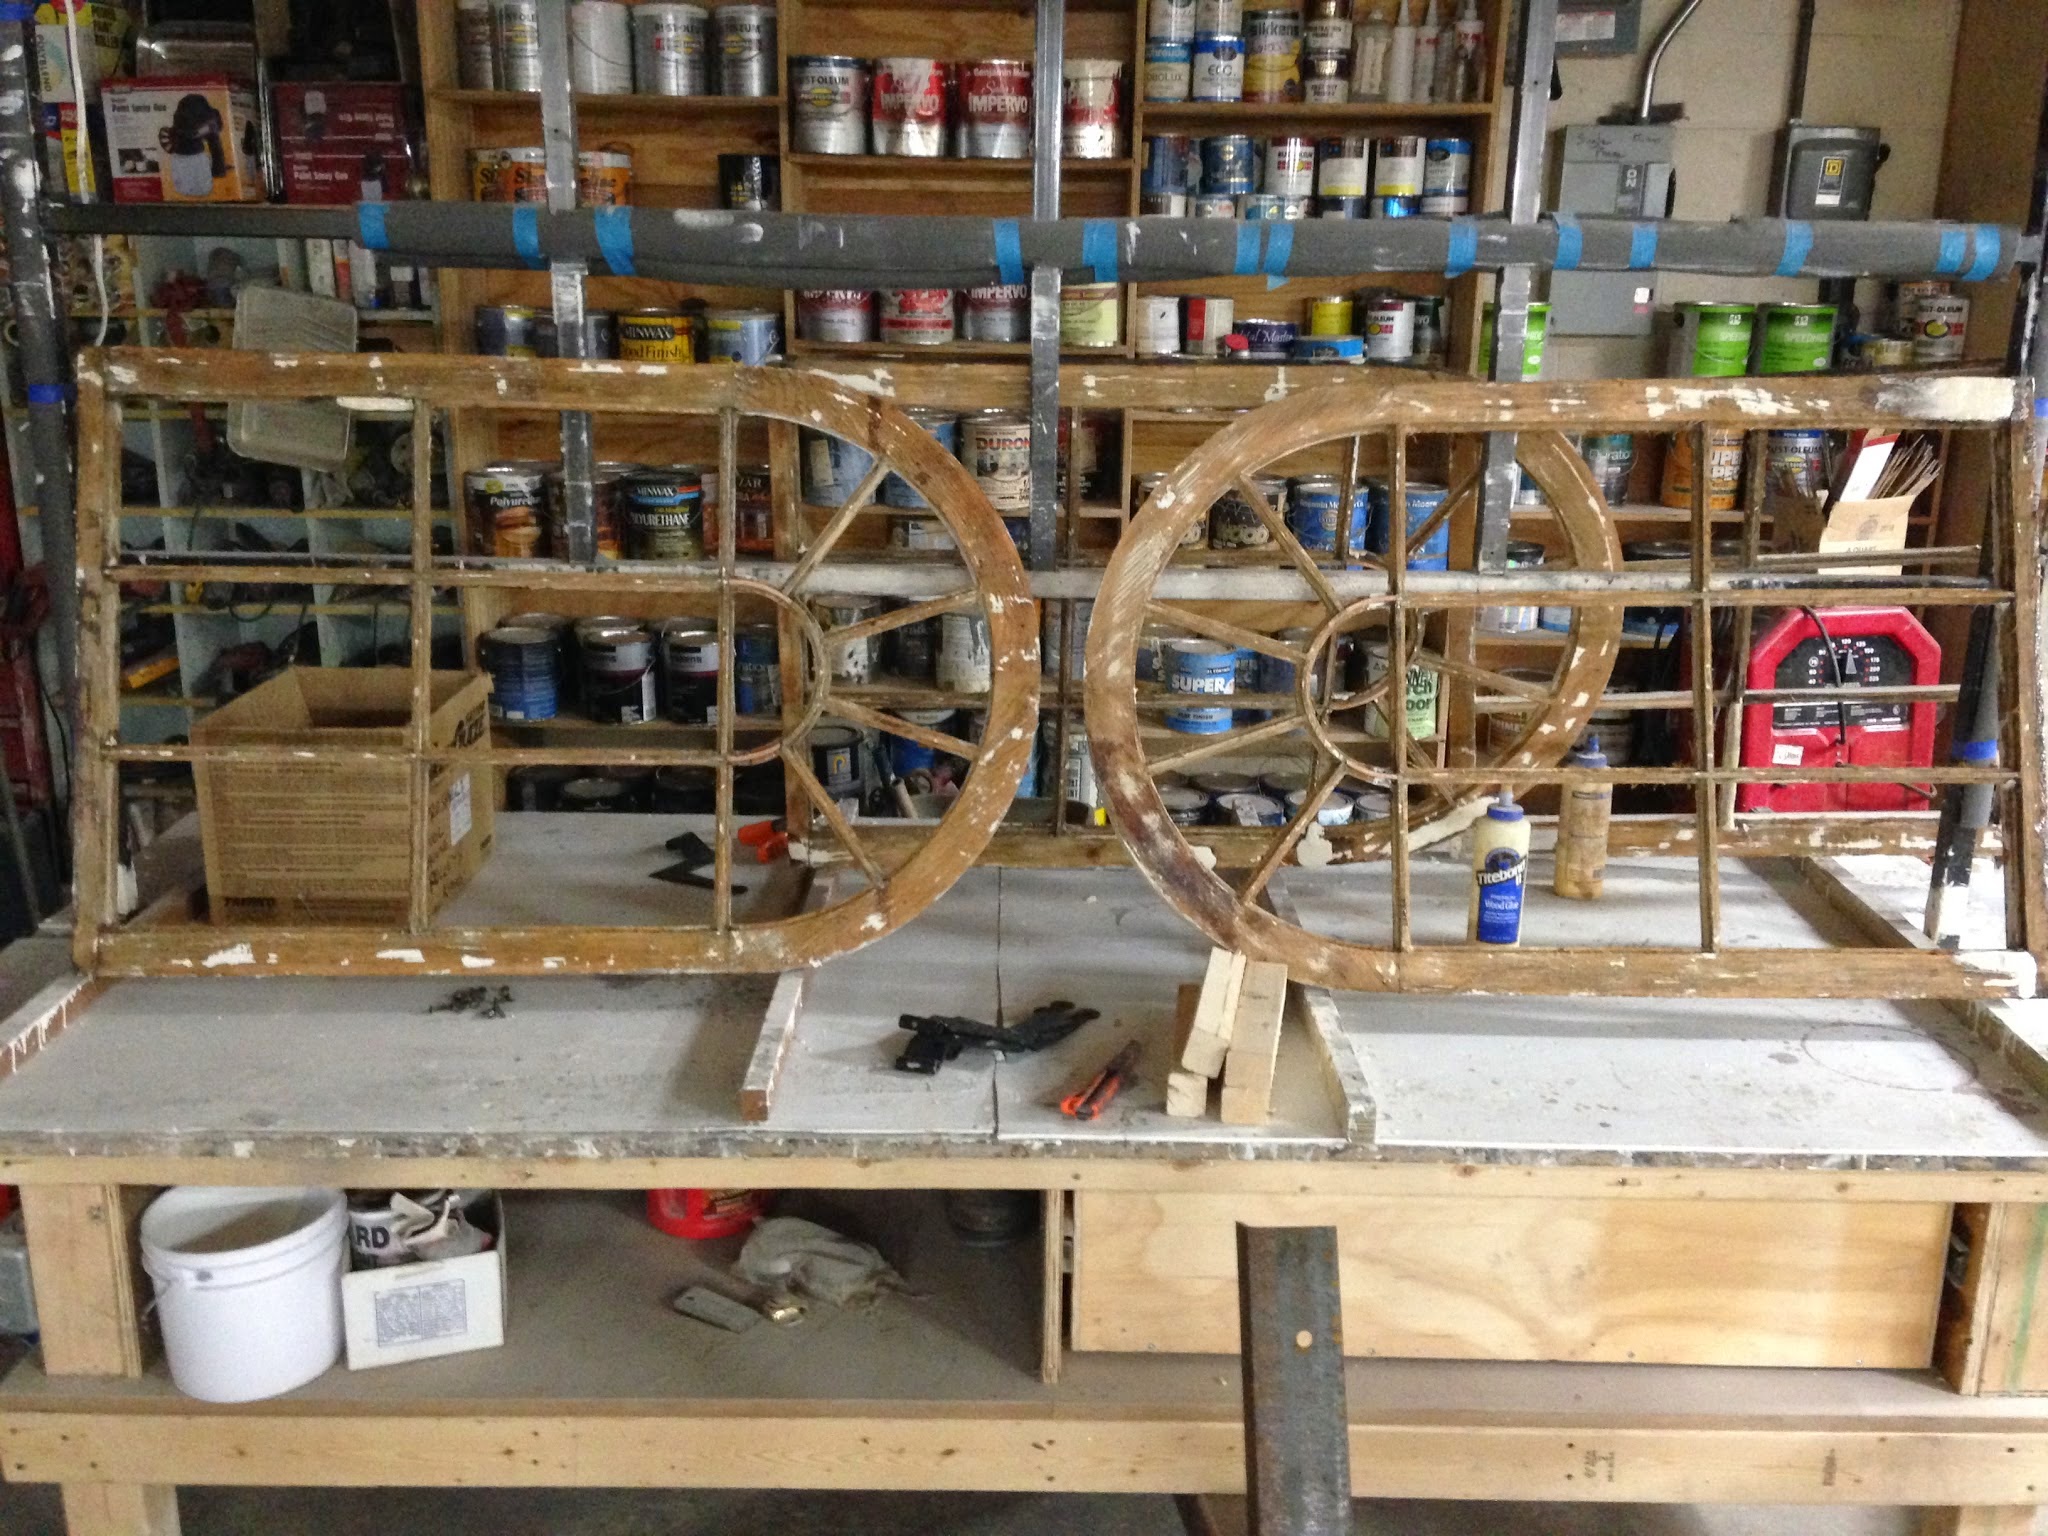
Sash from the last mansion on Dupont Circle. A common problem on circular and oval windows is the lack of sill slope. This promotes decay that can ruin sash and frame. Signifiant use of epoxy consolidants allowed us to bring this sash back to service.


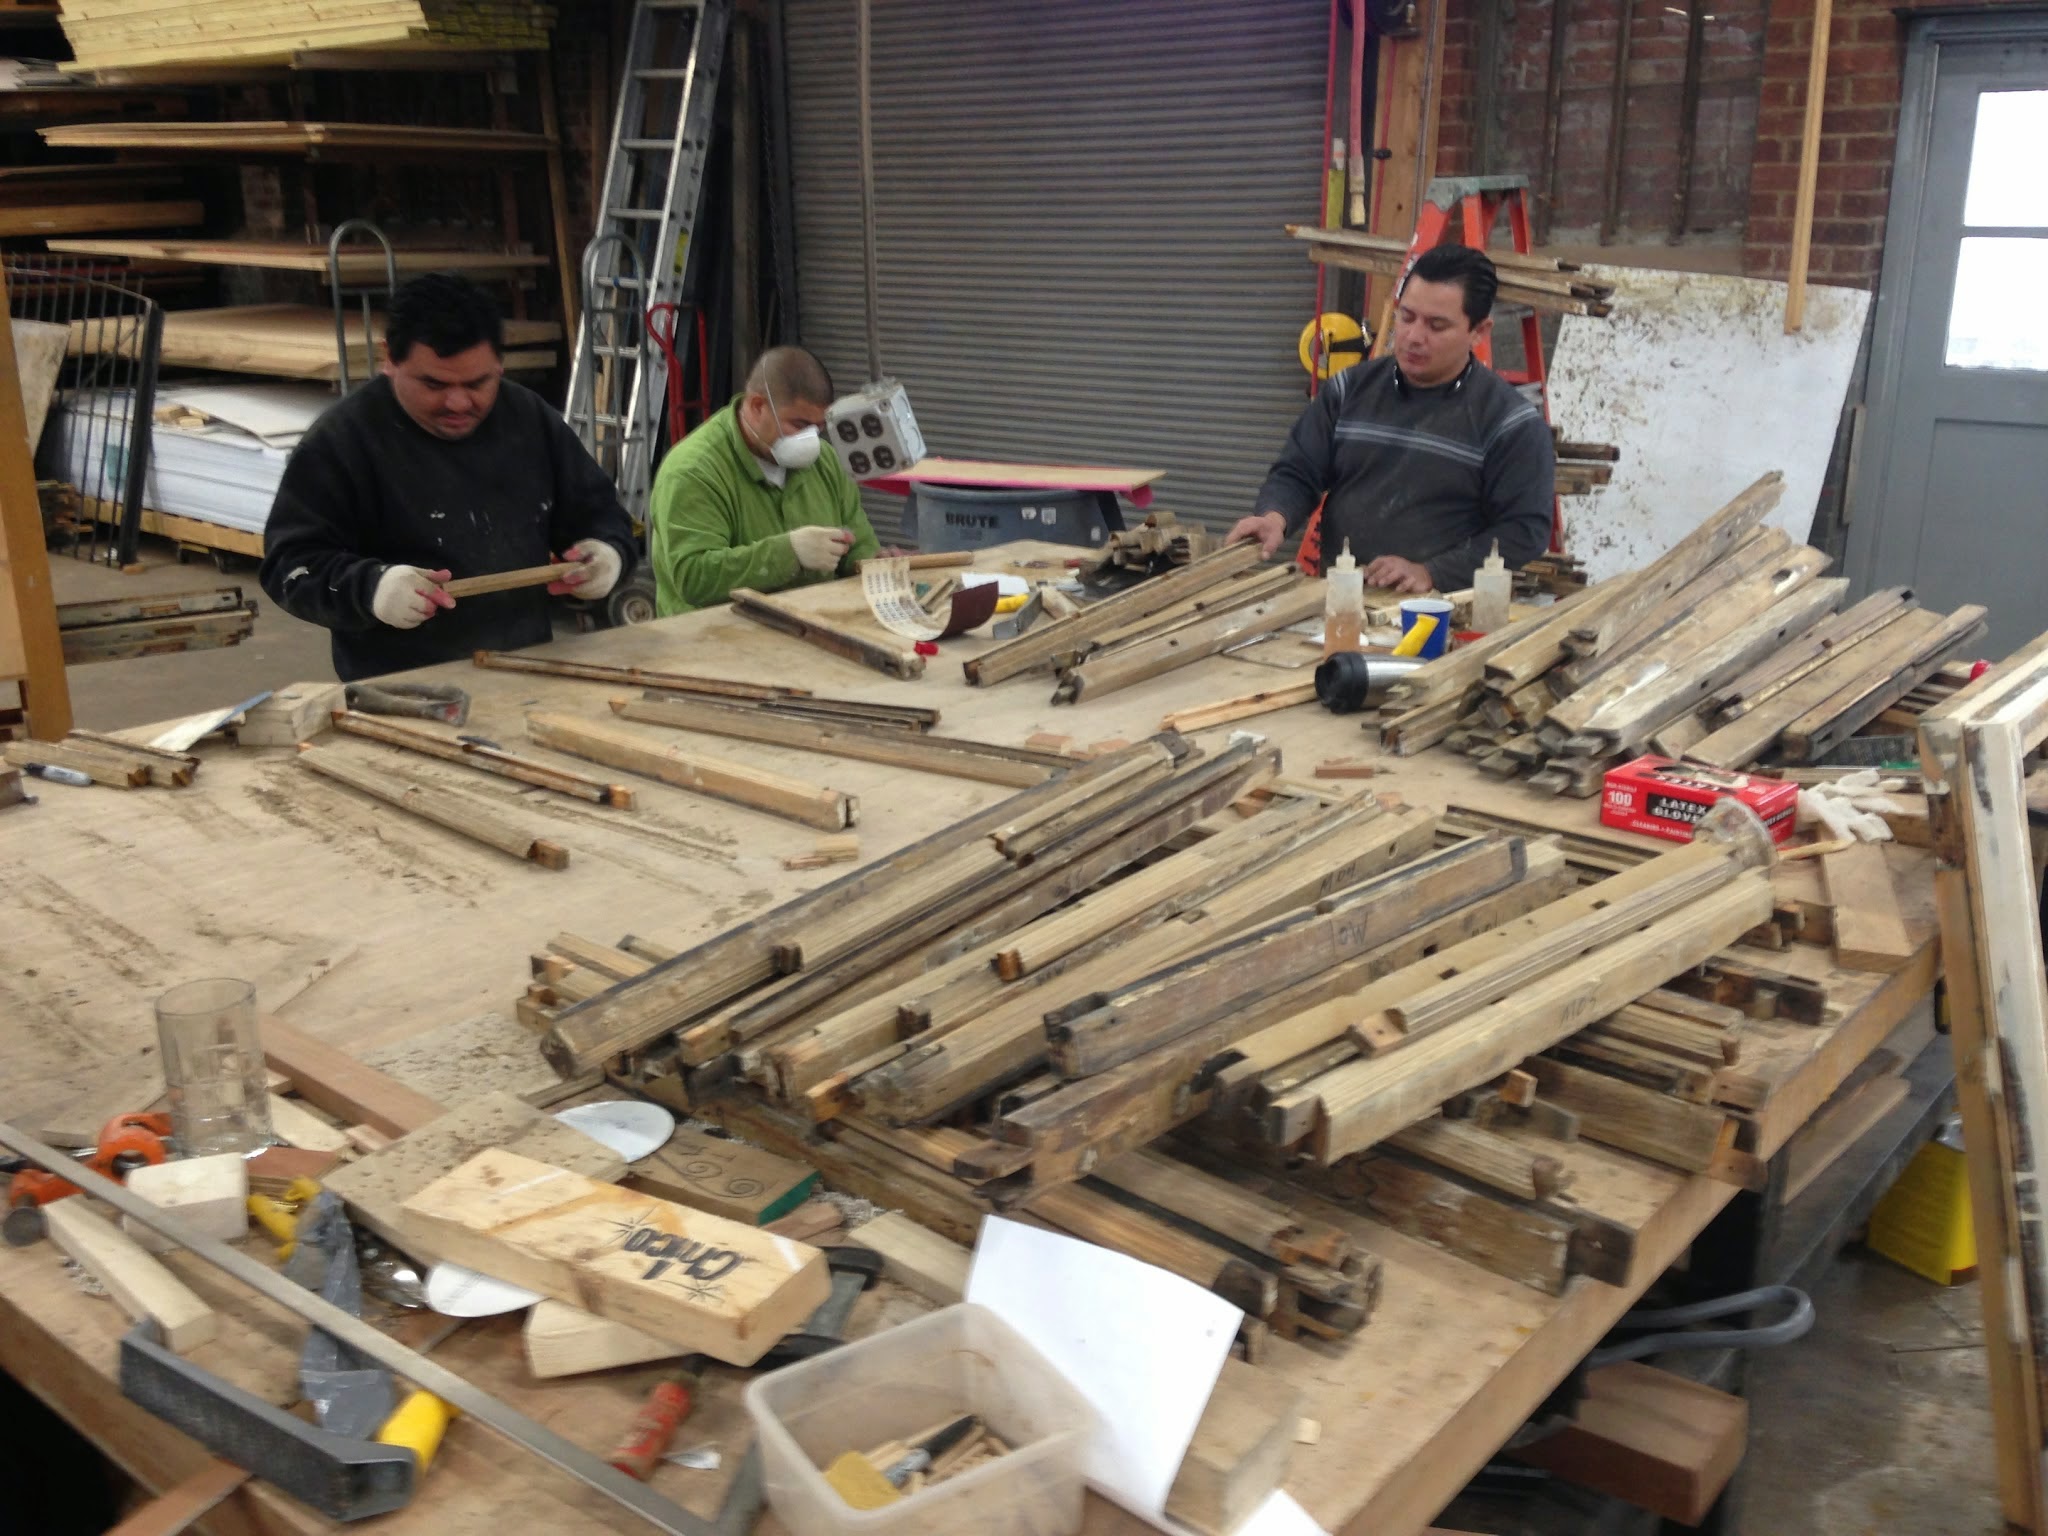
Note these sash have their identifying numbers stamped on the edge. About a puddle of parts, but most are there and all these sash will be beautiful when complete.

This photo and the next two are transoms from the Old Post Office. Here, the original makers technique can be questioned. These sash should have been made from four parts, not three. Grain structure gets weak as the curve processes. Problems like this reflecting a misunderstanding of the material are very unusual and with modern machines and adhesives here we will return the sash not good as new, but better than new.

When required, sash are reduced to their separate components. Hector oversees inventory and re-gluing.

The main sash restoration bench at our current facility. Good men with good tools and apparatus.

Our old alley facility near Howard University was a small, but sufficient work space. We left there in 2012 and now work in 23,000 SF.

Simon Cook at the table saw, he is the principal leader on large projects today.

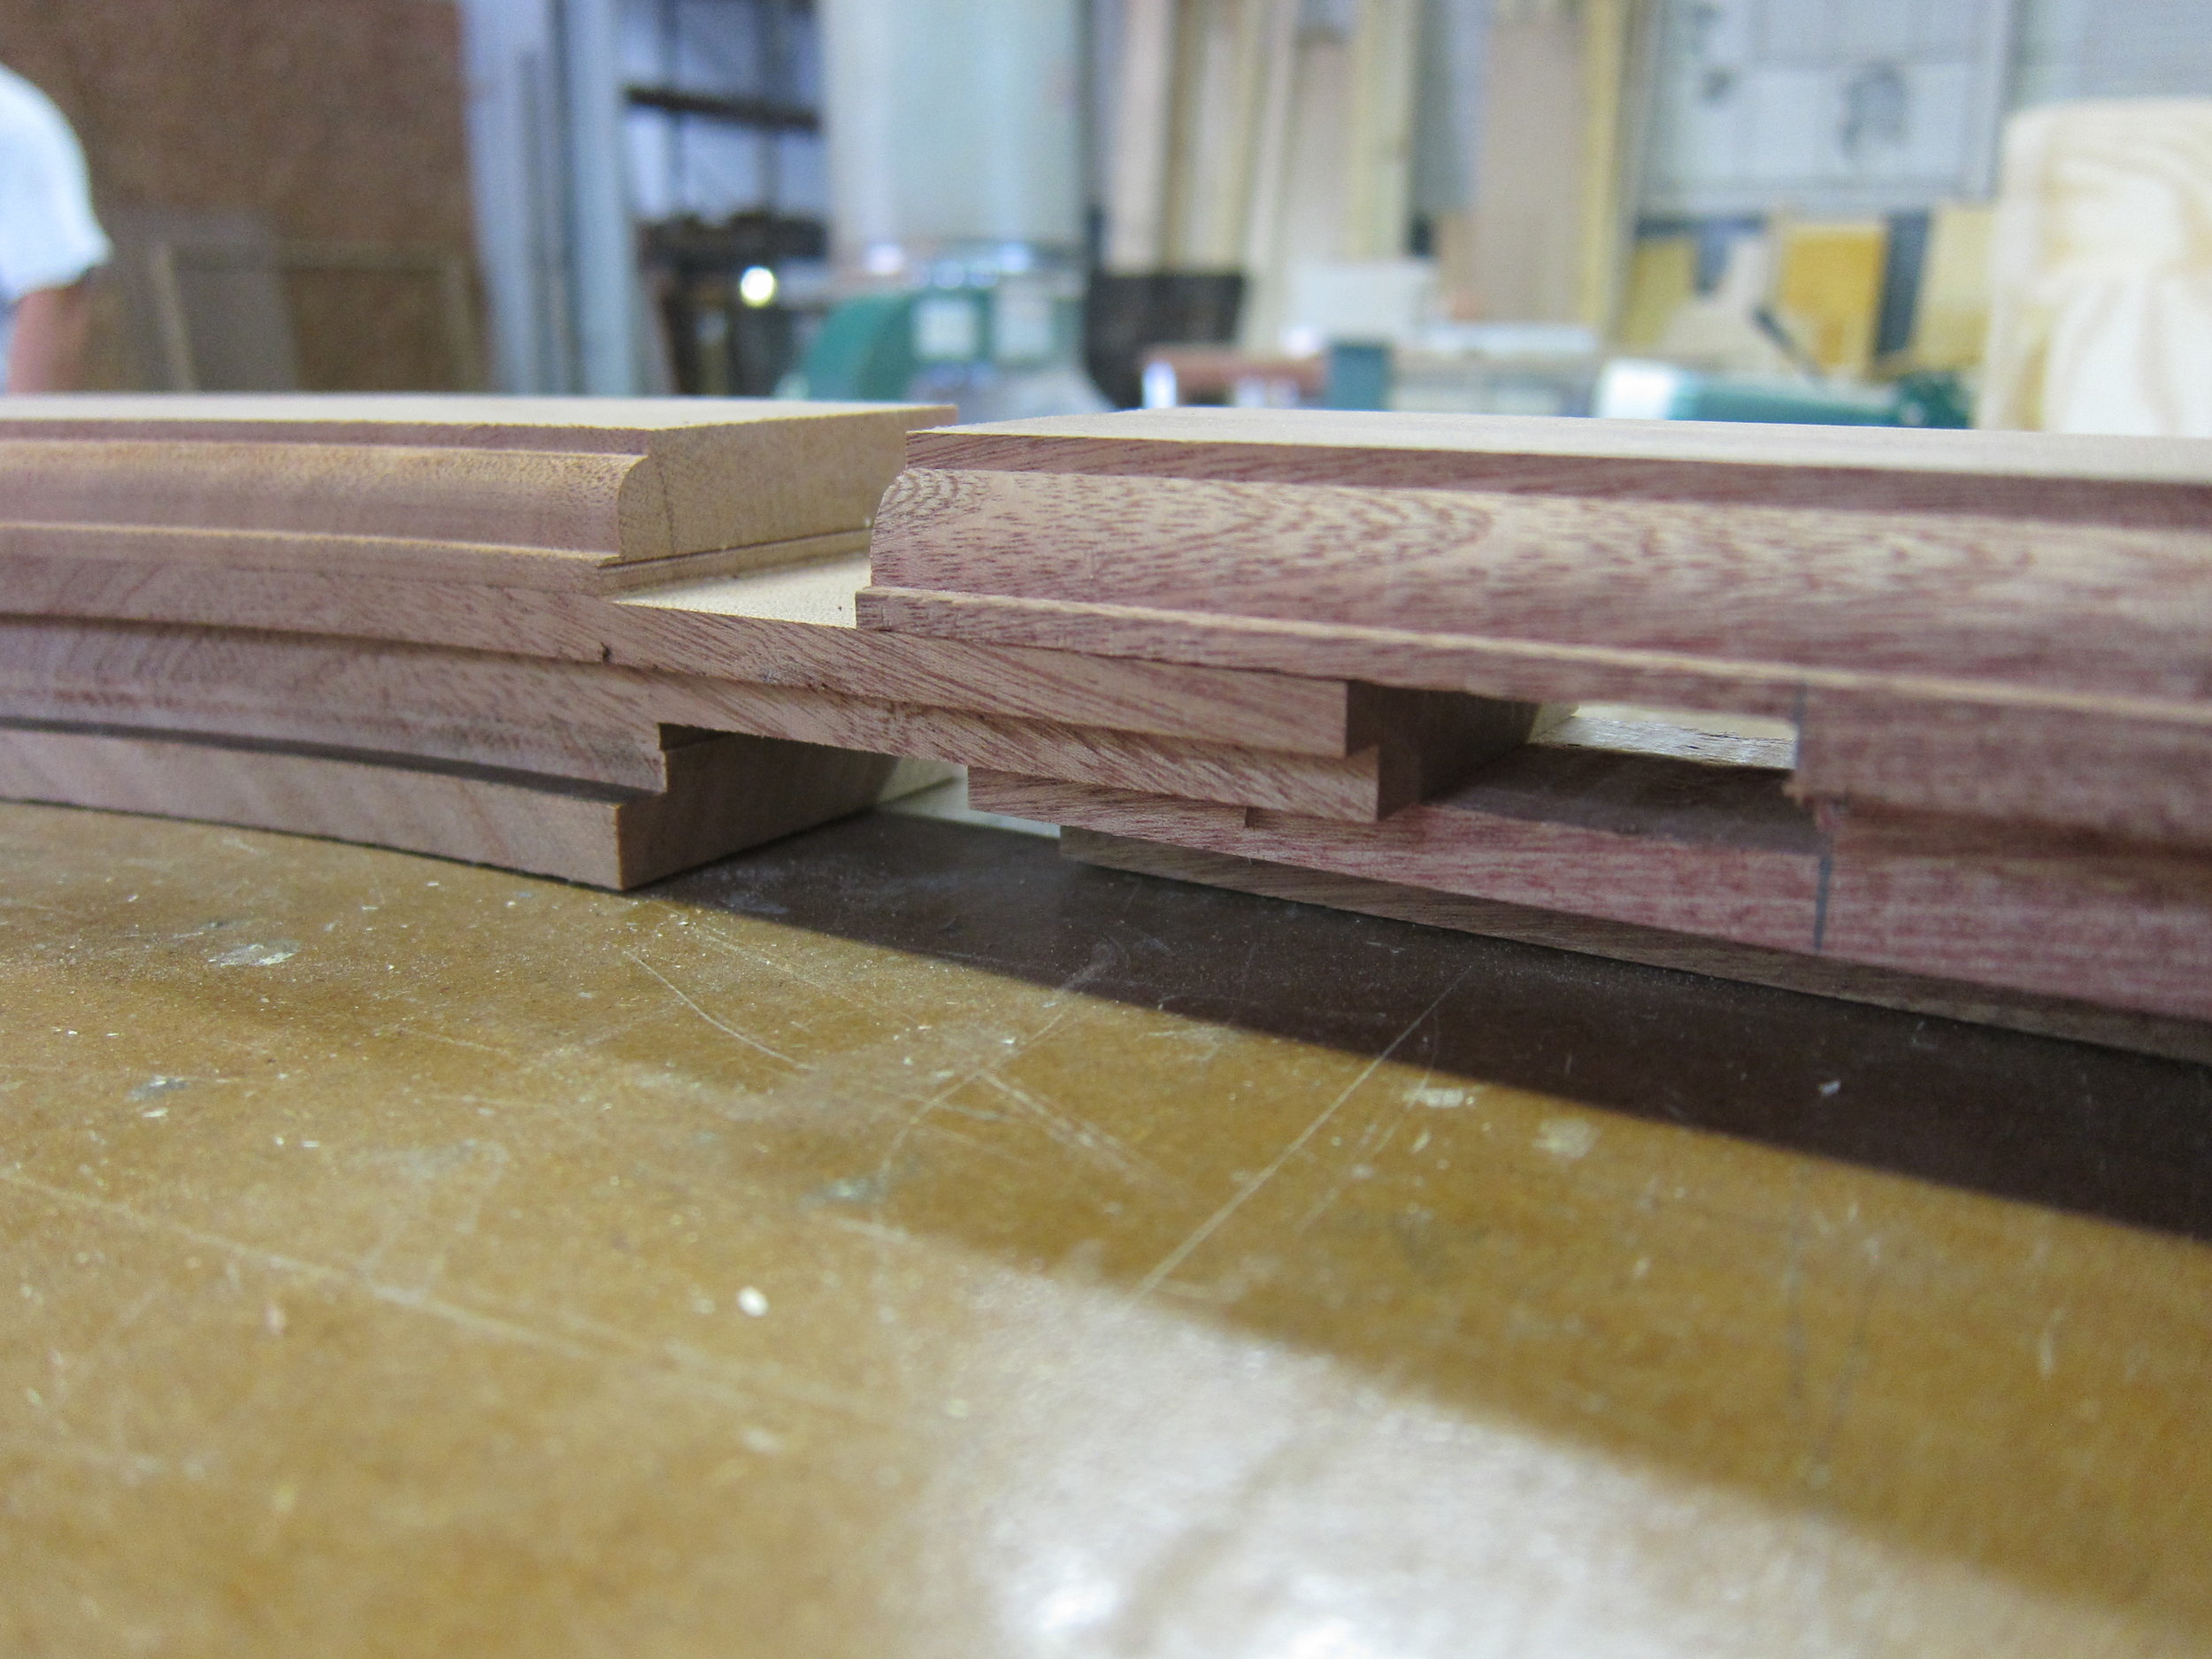
New meets old again, this is Spanish Cedar, our second pick for replacement parts. The cedar is lighter and easier to machine than Sapele Mahogany, which is our most favored specie for replacement parts fabrication.

New meeting rail meets old stile.

About 50% of our restoration sash get fully disassembled. For muntin replacement, this is a certain requirement. This sash will go together and no one will notice the two major repairs you see here.


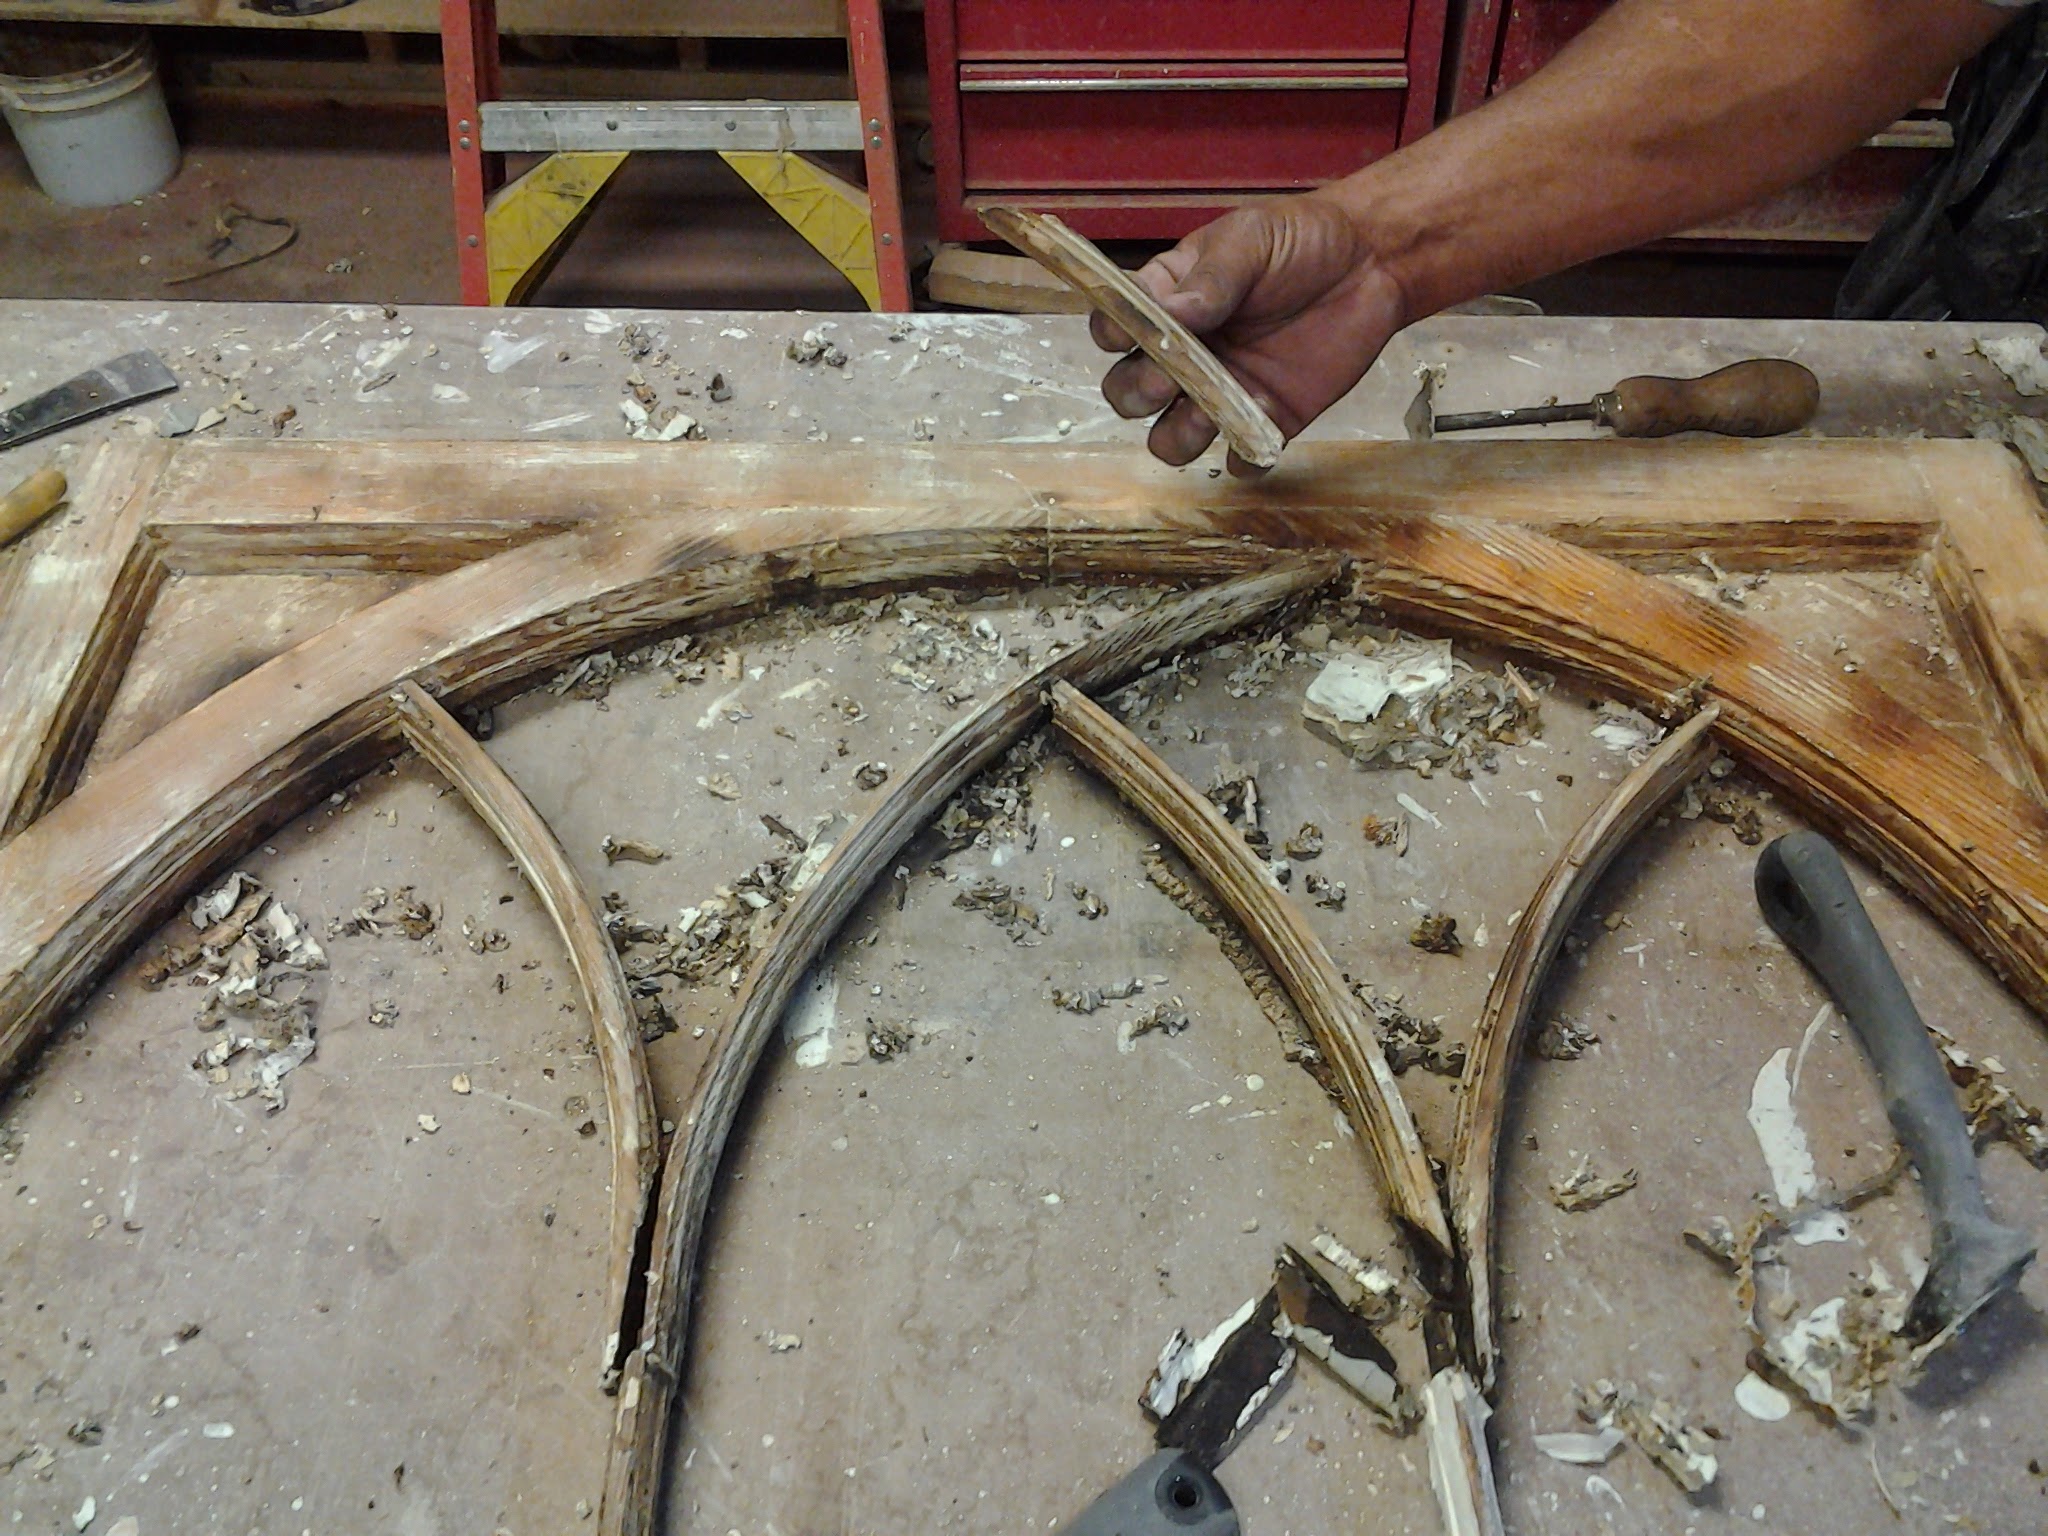
This photo and the next two depict discriminating removal and replacement of decayed material. Maintaining profiled components and joinery elements maintains the texture of the original fabric best.

We made 4,000 reproduction sash for the GSA headquarters. The joinery is made additionally complicated by the use of insulating, blast glass at this project. More on this question of the use of insulating glass in historic wood windows elsewhere on the site.

This is machine-made joinery. We cut this mortise and tenon 8,000 times for a major sash run for the federal government.

The primary mortise and tenon joint with modern Aliphatic resin glue makes these sash of Northeastern White Pine just a bit better than they every were.

There is a lot of work in the Spanish Cedar meeting rail reproduction component you see here. The bottom rail of the top sash is the weakest link in the classic double-hung wood window construction. Note this sash has through tenons at muntin ends. This enhances the mechanical strength of the window and is essential to such a delicate meeting rail maintaining it’s shape and purpose.


This is a primitive sash, probably early 19th century, where the adhesion provided by animal glues was modest at best. Here, a wedge enhances the joint’s strength.


This photo expresses a commitment to restoration, joinery like this requires excellent tools and craftwork. To replace only what must be replaced is a primary guide for us.


Original through tenon at meeting rail. With that description one can sense the inherent strength in this connection.

Simple Dutchman repair in Spanish Cedar on a 200 year old sash. The asset of modern adhesives is on par with craft in allowing this good millwork to return to service.


Broken muntin fins are a common problem and only well-repaired after a sash is stripped. Here, the new Spanish Cedar component is set in a shallow groove to give it purchase to the original muntin. These sash were heavily decayed and will require extensive use of epoxies and abrasion.


This is a common failure particularly on thicker sash. We replace the muntin fin with Sapele Mahogany. This added element sits in a groove at its base and in a shallow mortise at its ends.

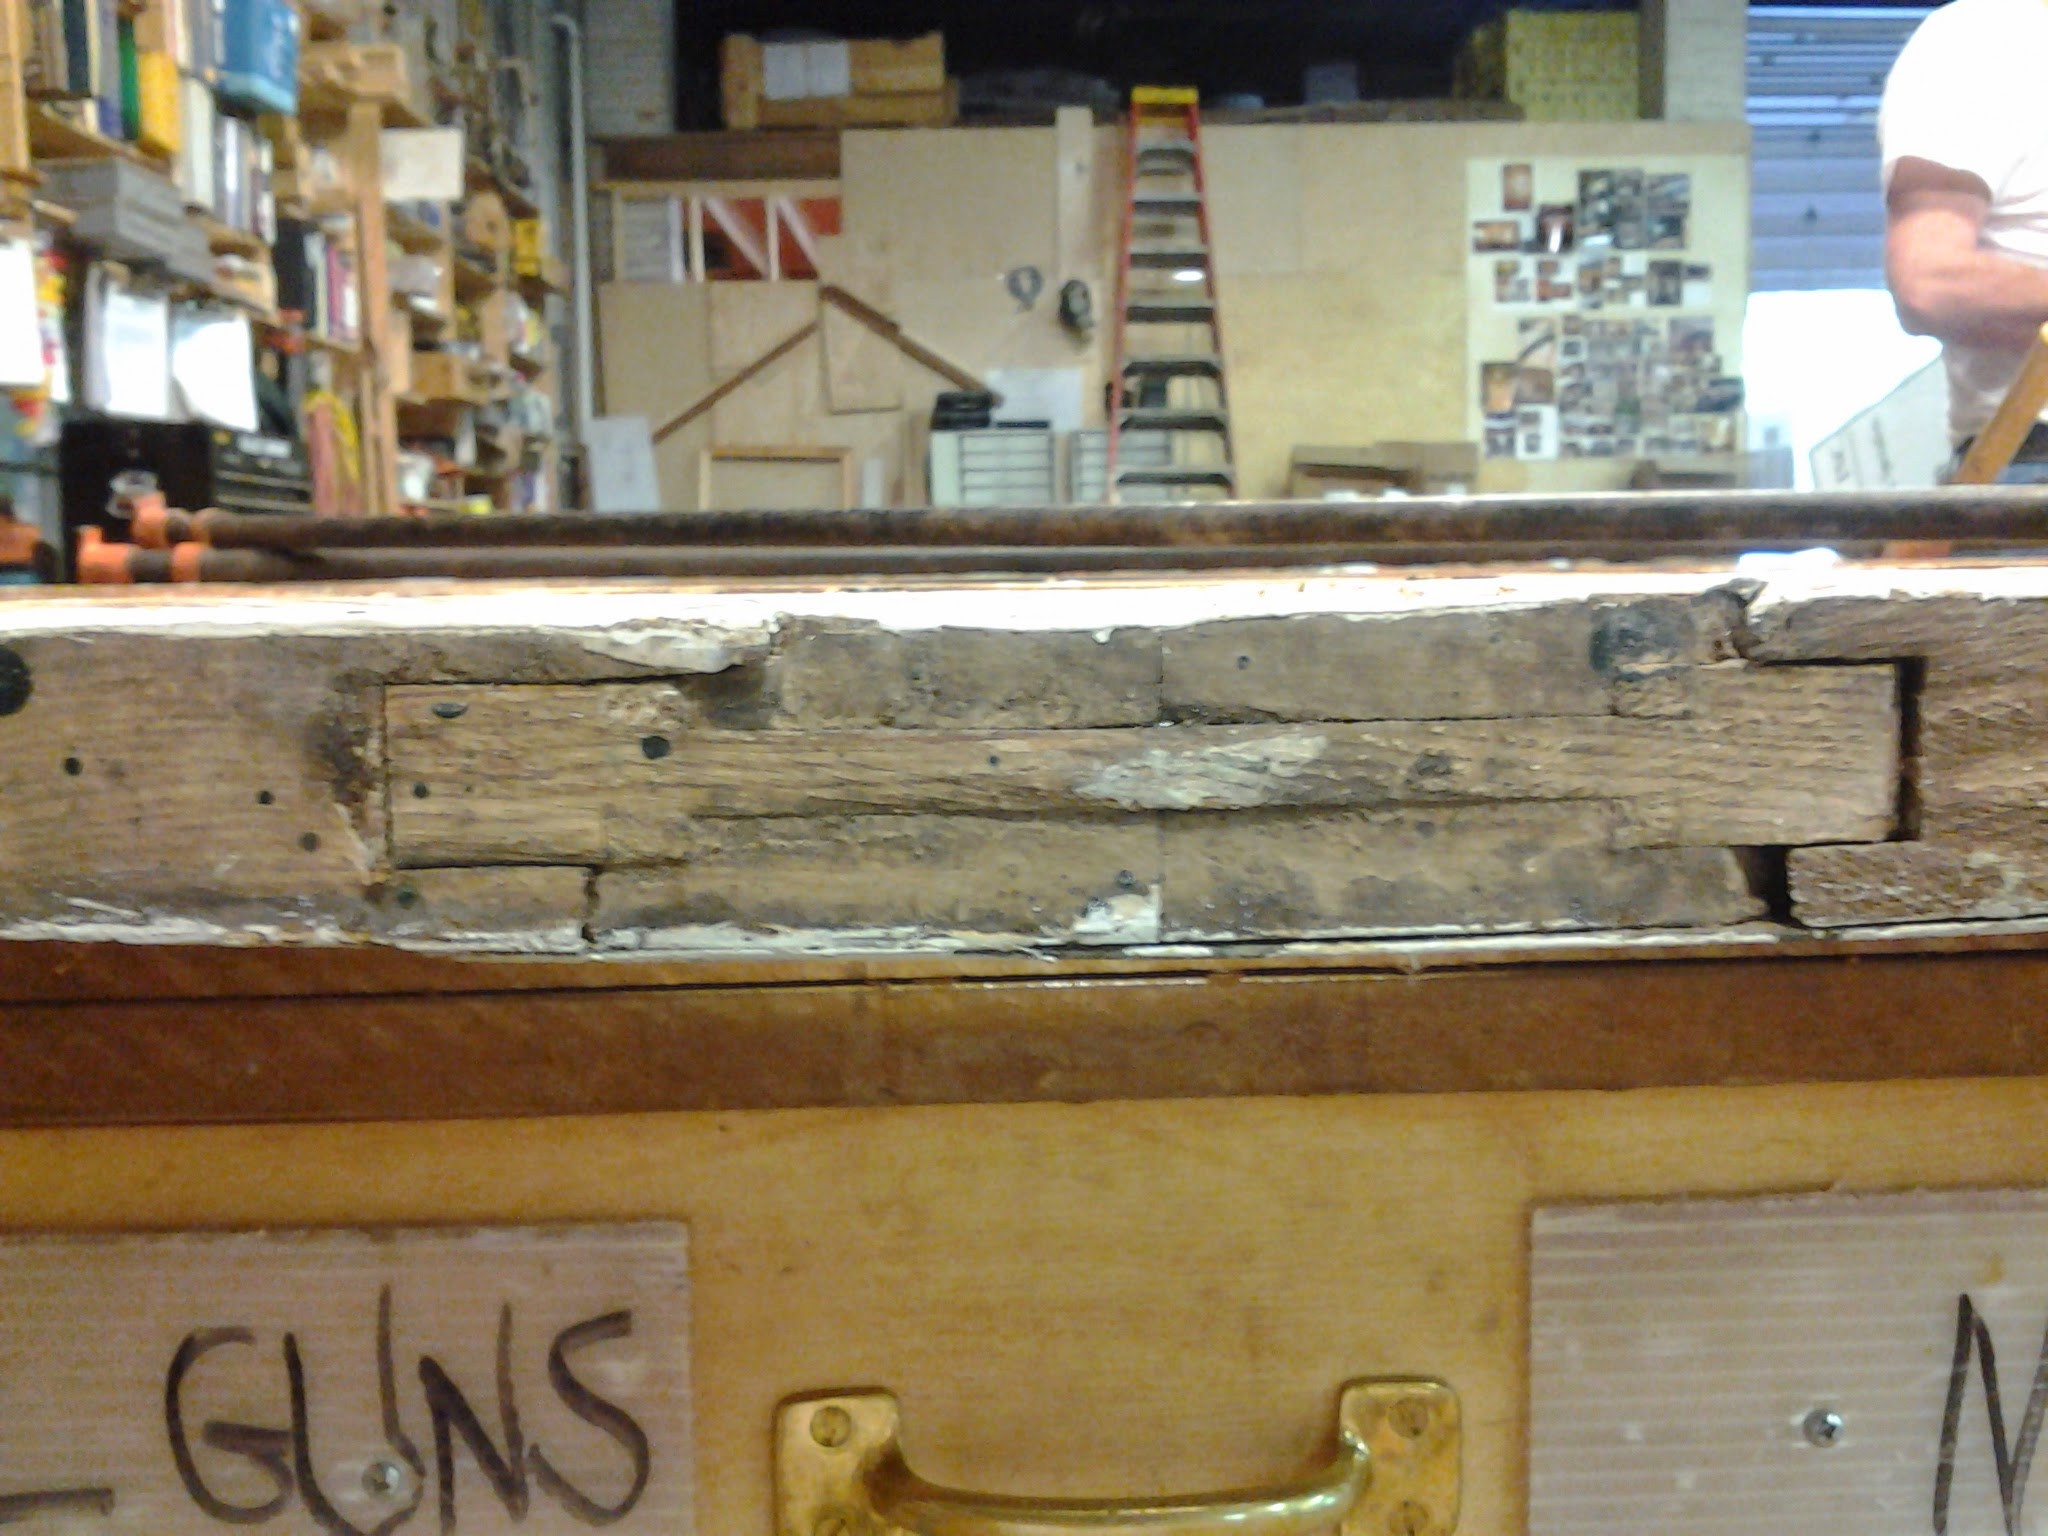
Sash from the Sulgrave Club, Dupont Circle. You can see some Dutchman, but it’s the magic of epoxy that allows this sash to carry on. Notice the axis of decay through the vertical line of the sash. From the bottom of the photo, the most profound decay, is due to its sill which had no slope. The first Dutchman above is the muntin fin which had similar puddling problems. Above it, this radius element lacked sufficient grain structure, and decay at the top likely precipitated from a bad drip condition.


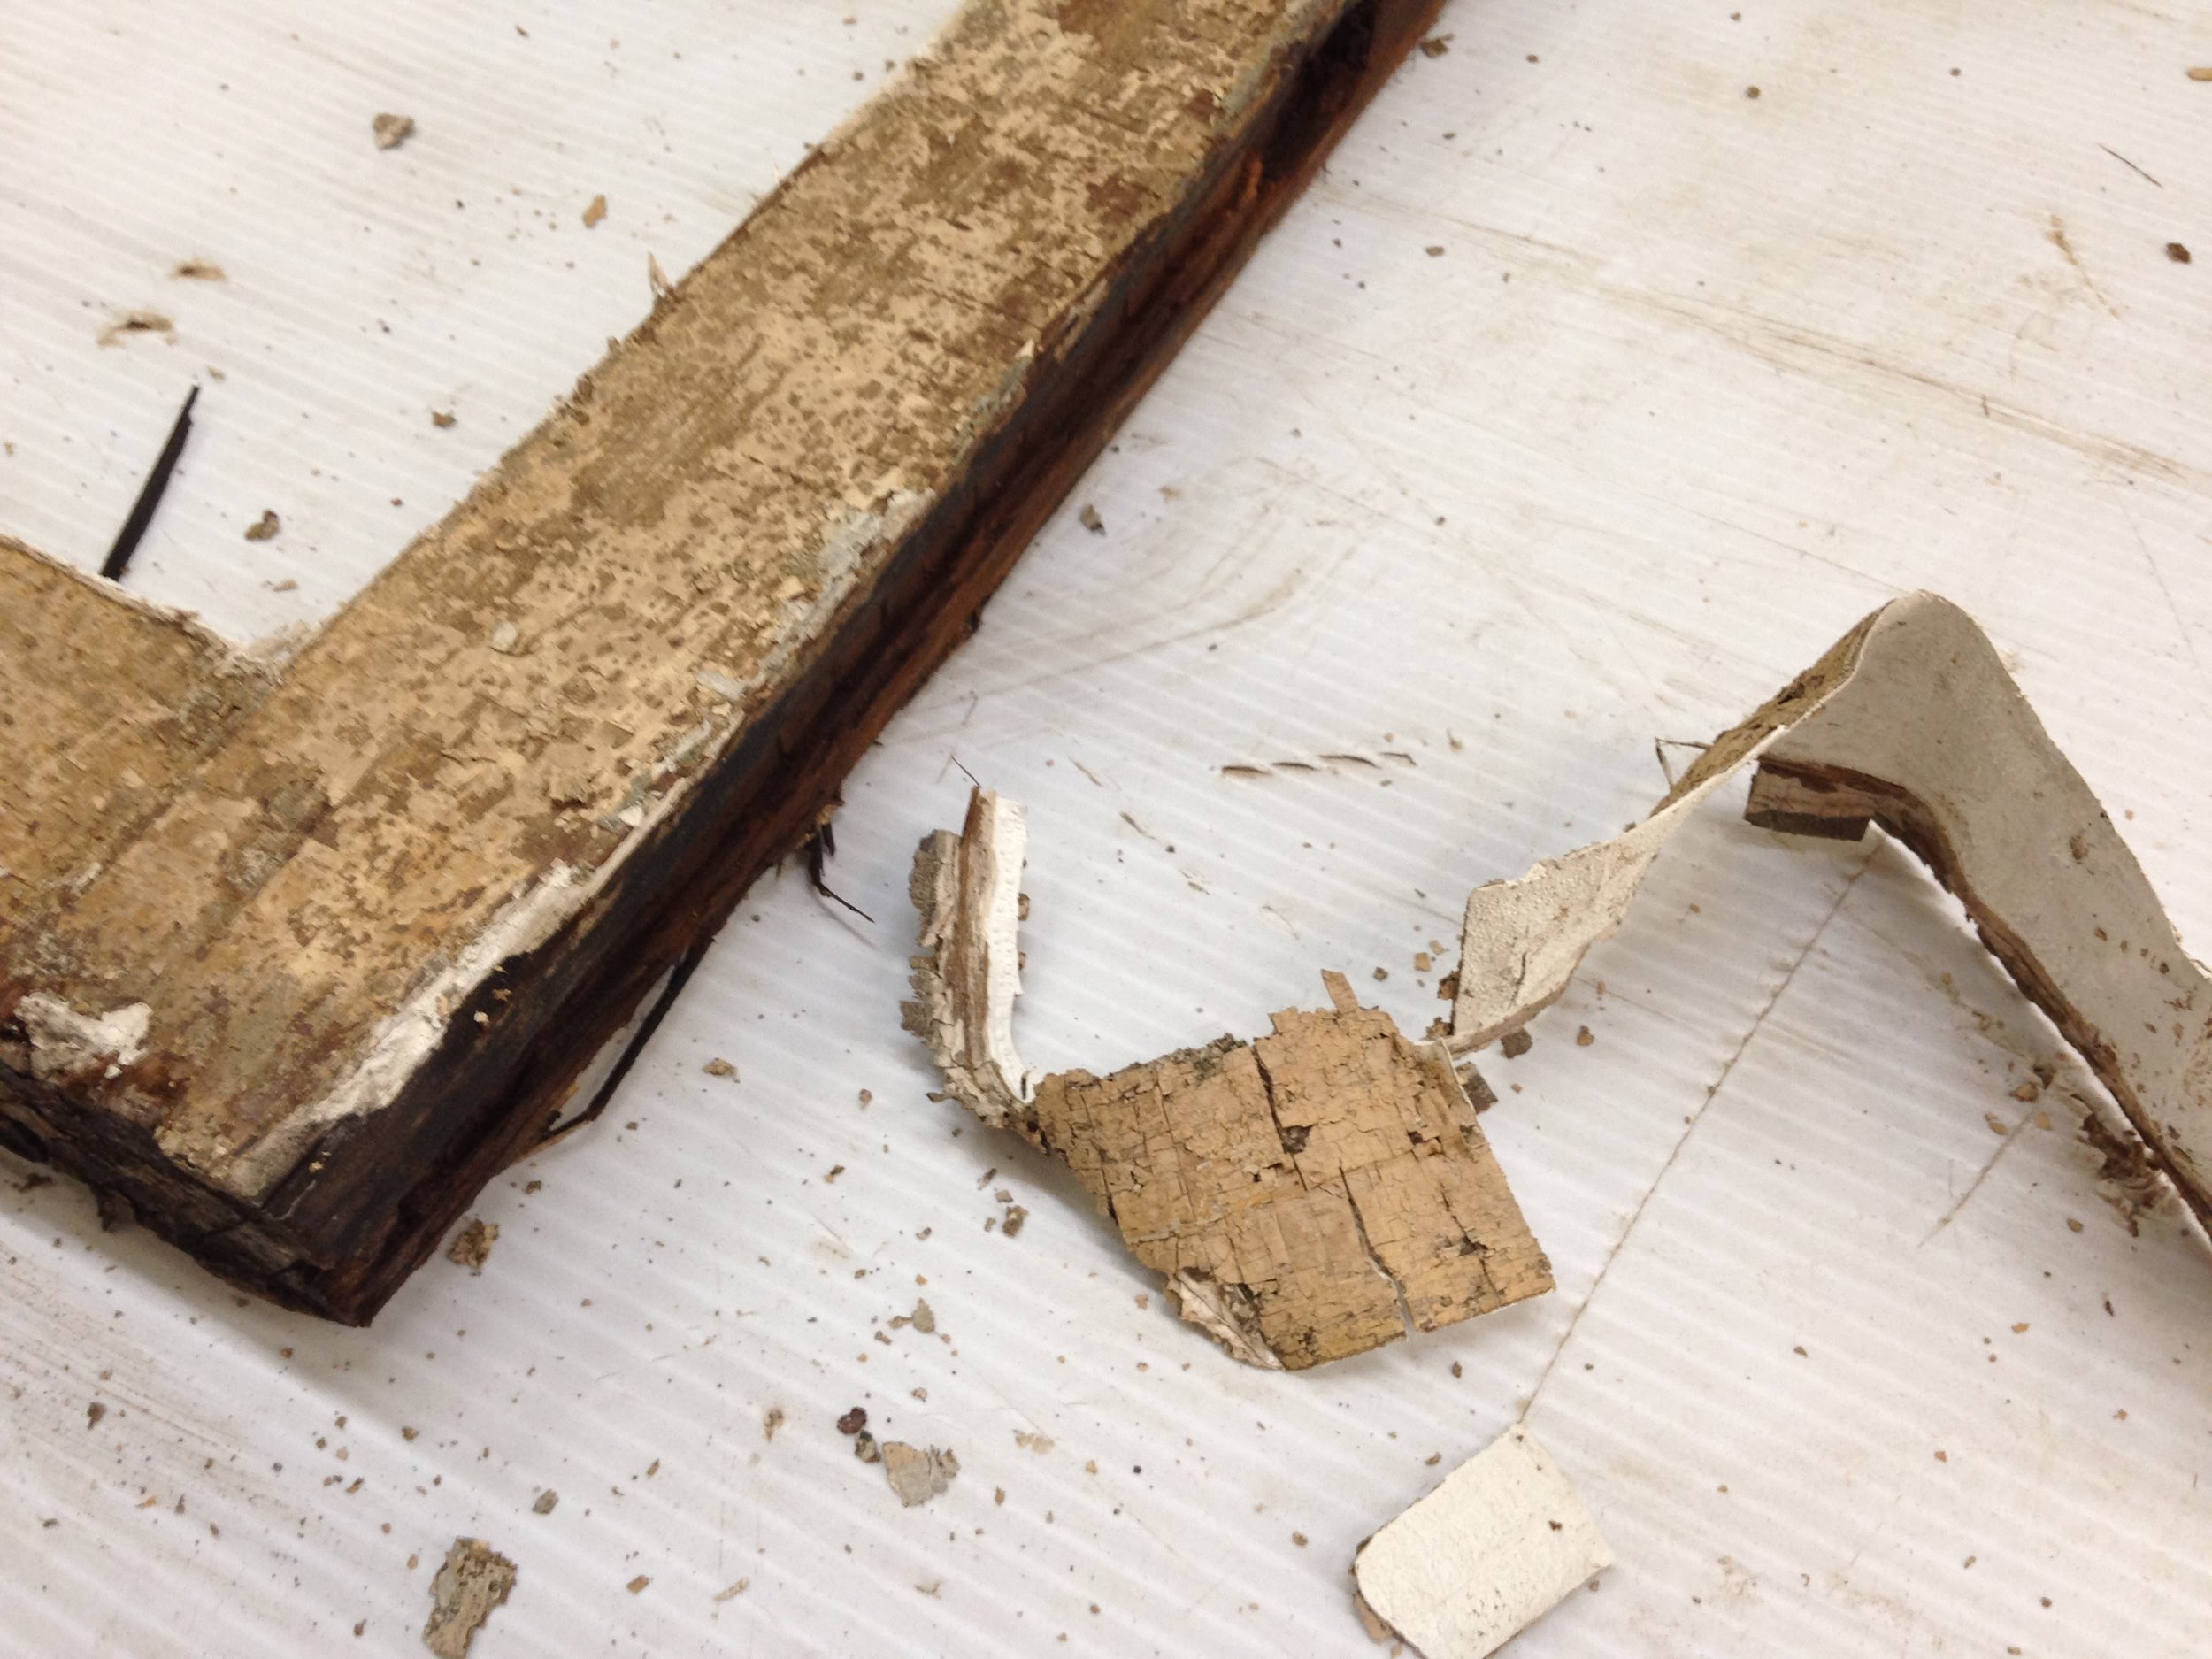
Epoxy consolidant and fill from Abatron. In this photo and the next see its common use and application. Ideal material for its density and flexibility. Used in this way on most every project.

These are 200 year old sash from the Maret School. When our process is complete they will be good for another 100 years.

Sash finishing space at our current facility, with abundant light and ergonomic benches, the finish obtained here far exceeds what one can do on site.


Our craftsmen are well versed using traditional window glazing techniques

Fresh glazing putty on the sash rabbet has to air-dry for at least 10 days before the primer is applied


Good lighting on the sash easels reveals the subtle varigation of late 19th century glass.


Here the weatherstripping is prepared to accommodate top sash pulleys. It turns out a woodworking jig is ideal for creating this cut out.


